
Browsing and Joining Nodes
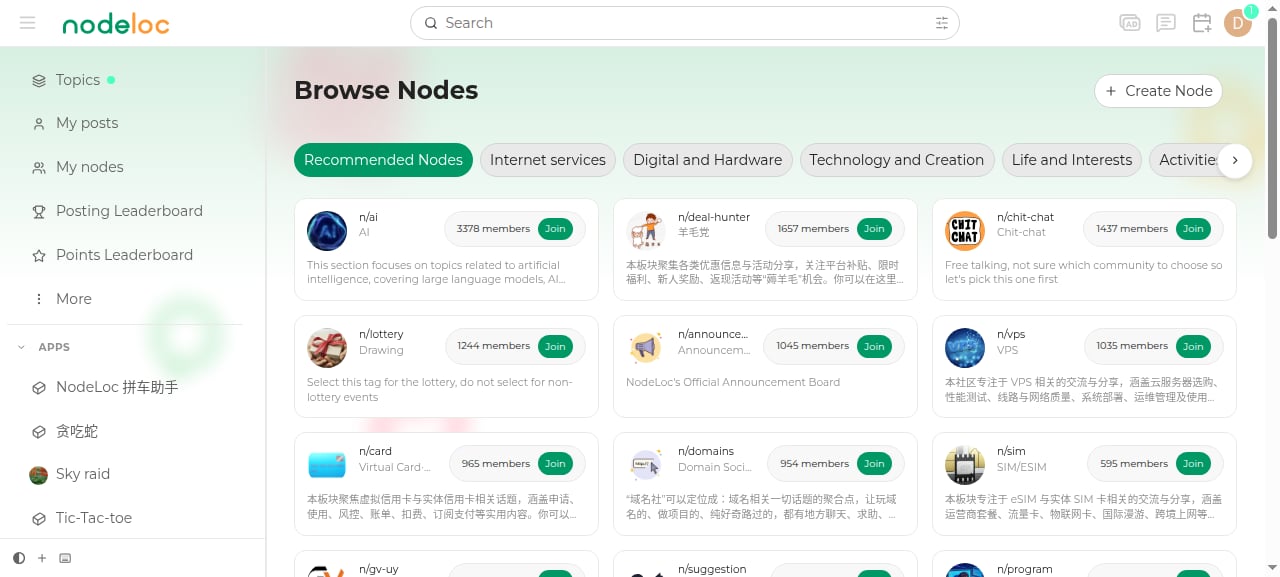
- Visit Browse Nodes to see all nodes, filterable by category (Internet services, devices & hardware, tech & creation, etc.).
- Click “Join” on a node card to become a member; you can also “Leave” from the node page.
- Node pages support three view modes: compact, expanded, and card.
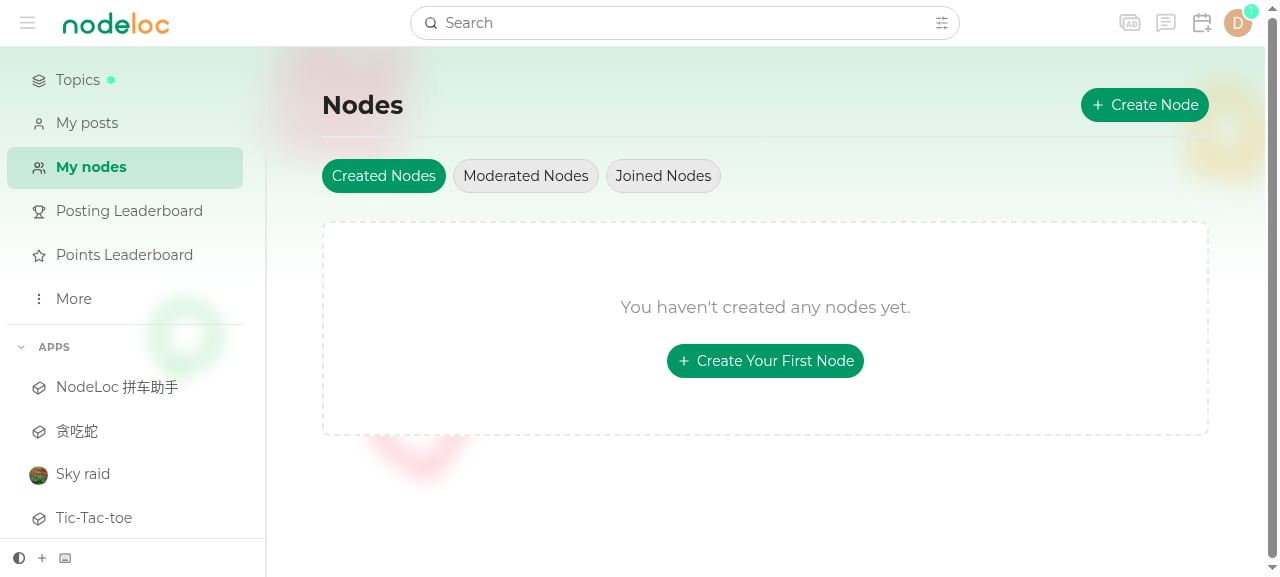
- The “Nodes” section of the sidebar shows your recently visited nodes, and My Nodes collects the nodes you’ve created, joined, and manage.
Creating a Node
Eligible users can create their own nodes:1
Open the creation wizard
Click “Create Node” in the sidebar’s “Nodes” section, or visit /new-node.
2
Choose a parent category
Select the top-level category the node belongs to.
3
Fill in basic info
Node name (3~50 characters), URL slug (≤12 characters), description, etc. The name and slug cannot be changed after creation (only admins can change them), so choose carefully.
4
Appearance settings
Upload a node logo, set the theme color, and more.
- The system automatically creates a member group and a management group, and automatically publishes a welcome post.
- An “Invite friends” window opens with a ready-made permanent invite link; copy it and send it on (see “Invites and rewards” below).
- You are notified of every new topic in the node from the start; switch it off under Mod tools → Settings.
- As the node’s creator, you can edit node info, set node rules, and add node links (up to 3).
- The creator cannot leave their own node; you can transfer ownership to another member under “Mod tools → Settings → Ownership” (see “Transferring ownership” below).
Node Page Features
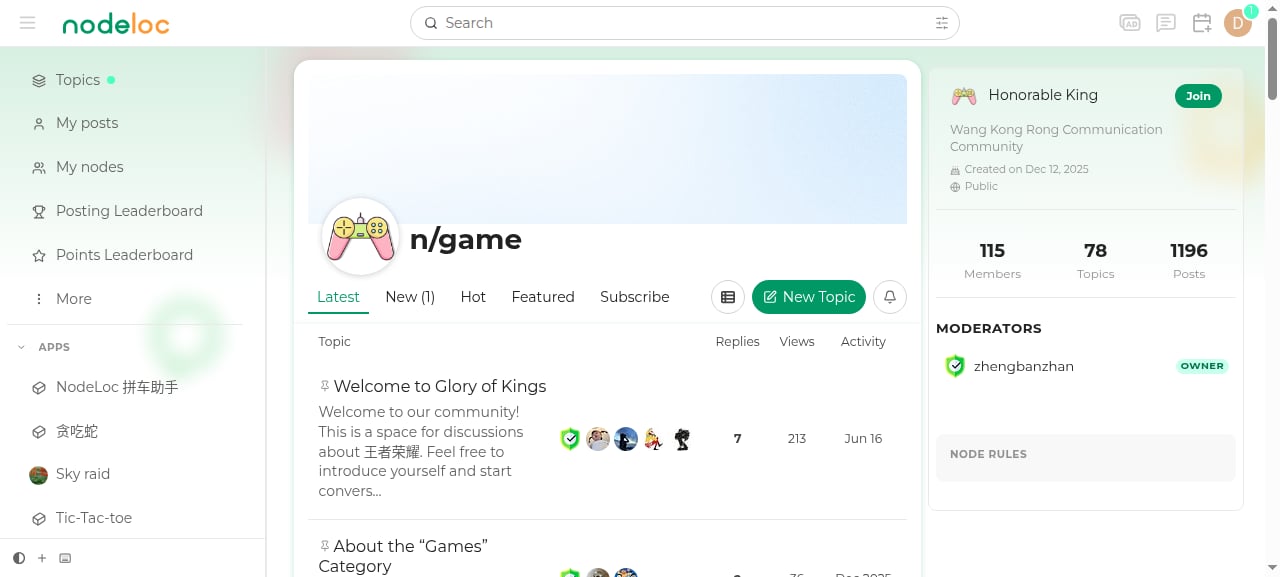
Inside a node, the right-hand info panel shows the node’s description, member count, topic count, post count, and admin list, and provides:- Join / Leave: manage your membership
- Invite: members of an open node can mint their own invite links to bring friends in (see “Invites and rewards” below)
- About: view the node’s details
- Node Rules: node-specific rules set by the creator — read them before posting
Managing your node
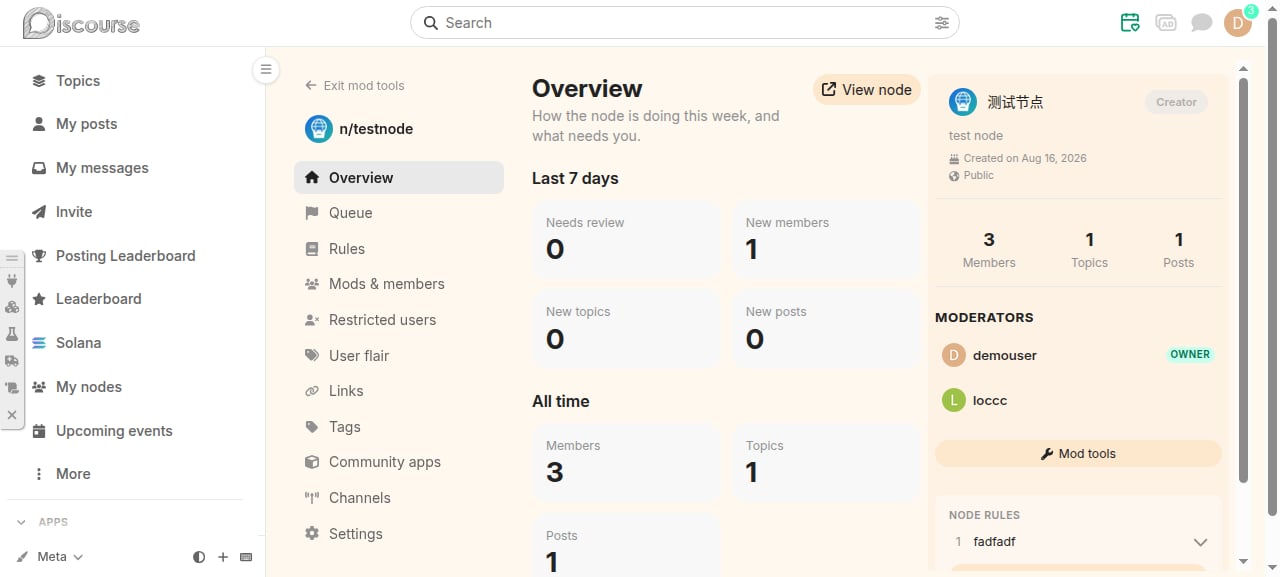
Node owners and moderators enter the mod tools from the “Mod tools” button in the right-hand panel of the node page, at/n/node-slug/mod. The tools are split into sections, one per job:
- The node owner (and site staff): edit the node’s info, appearance and admission mode, appoint moderators, transfer ownership.
- Moderators: work the review queue, manage restricted users, assign user flair, pin replies, close discussion branches.
Overview and review queue
- Overview is the node’s dashboard: this week’s pending reviews, join requests, new members, active members, new topics and replies; 30-day trends for members, topics and replies; live invite links and how many people joined through them; and the inviter ranking — over 7 / 30 / 90 days, all time or a custom date range — showing who brings people in, with rewards given right from there by the owner.
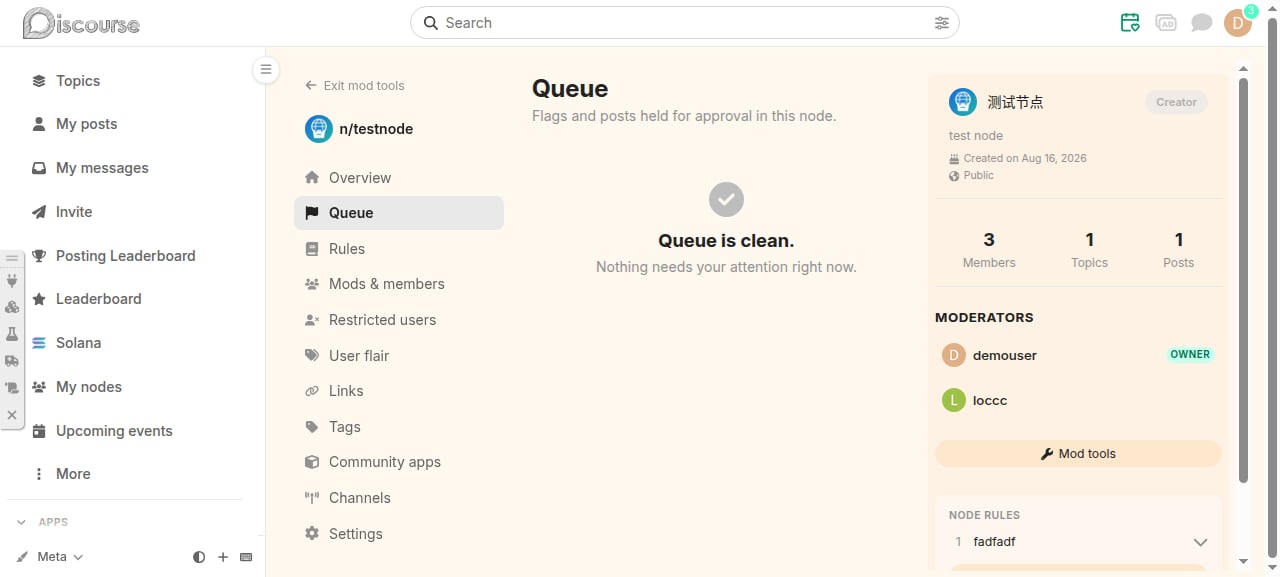
- Review queue collects content flagged or waiting for approval inside the node, to approve or reject in one place.
Node rules
Write the node’s own rules (a title plus a description). They are shown on the node page where members see them before posting, and can be added, edited or removed at any time.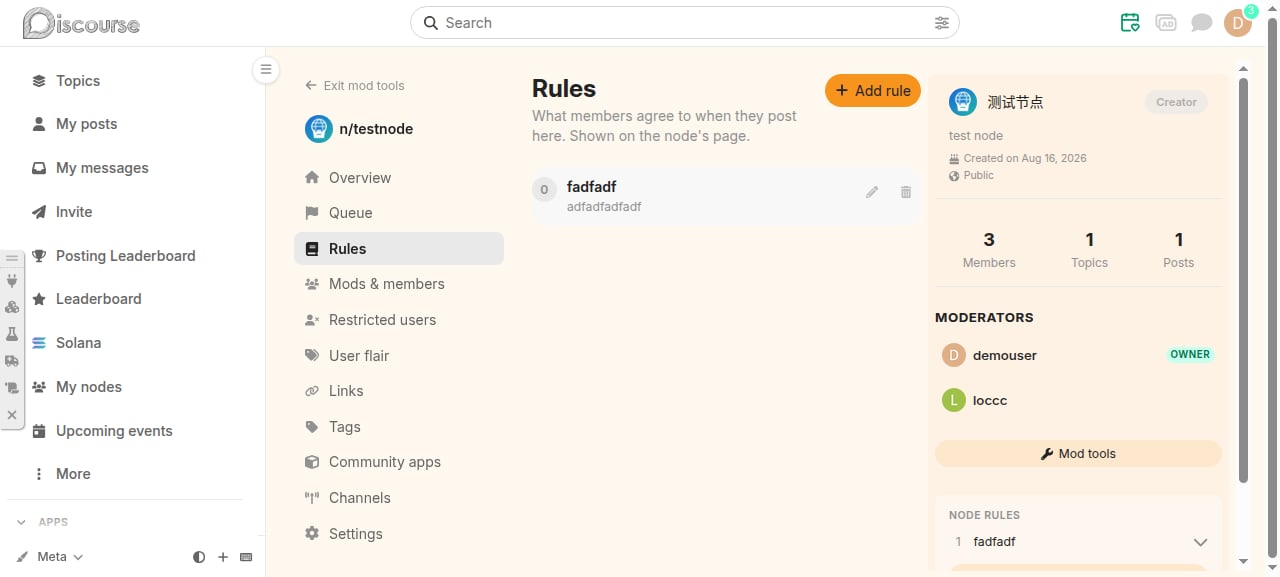
Moderators and members
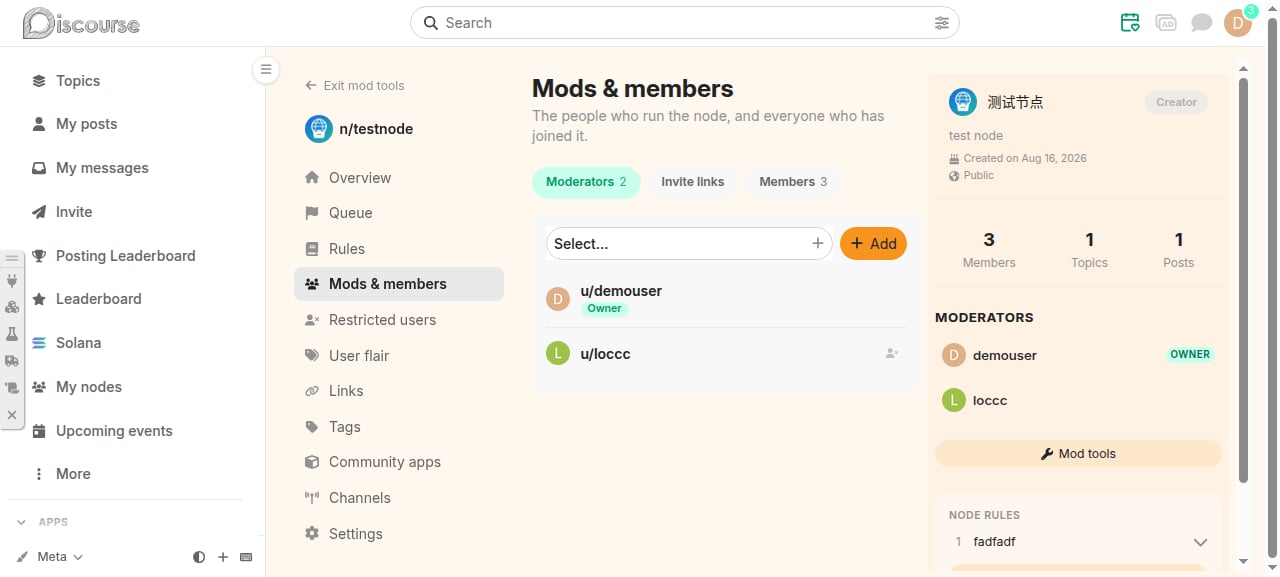
Membership is managed across two tabs:- Moderators: add or remove moderators. Moderators can use the moderation features of the mod tools, but cannot change the node’s settings.
- Members: see and manage everyone who has joined.
“Add member” works by invitation: the person gets a single-use invite link and a private message, and only joins once they confirm. Nobody is placed in a node unasked.
Invites and rewards
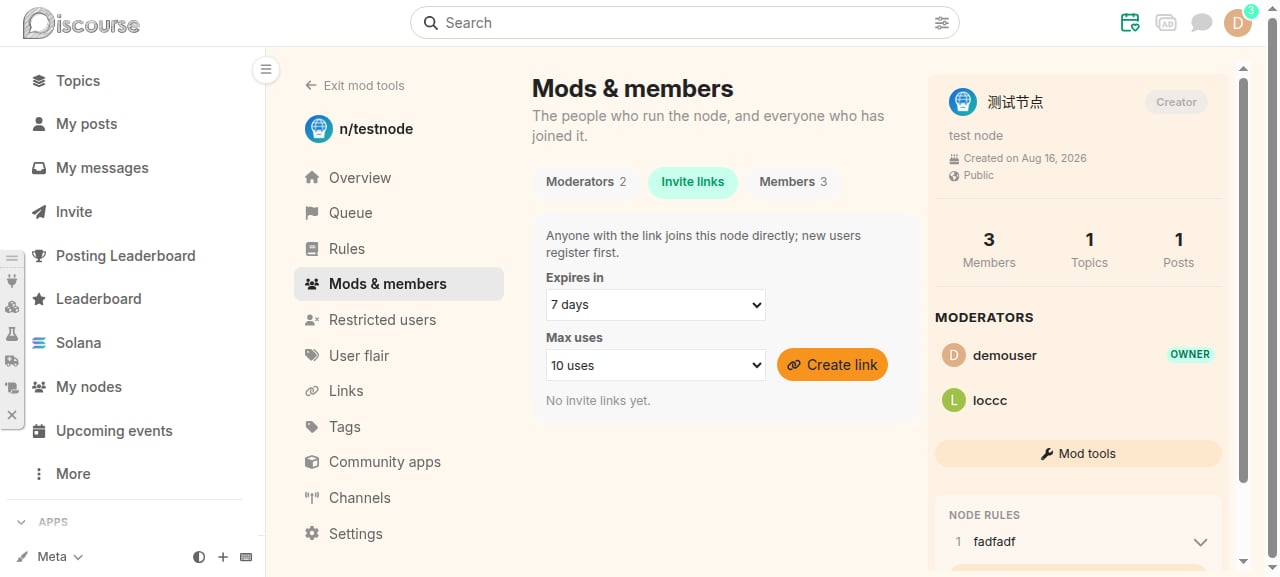
An invite link looks likehttps://www.nodeloc.com/n/<node-slug>/i/<code>. It opens on a page with the node’s card — icon, “so-and-so invited you to join”, member count, description. Newcomers sign up on that same page and land inside the node as members; a logged-in reader joins with one click; a member goes straight in.
Who can mint links
- The owner and moderators, any time, under the mod tools’ Invite links section.
- Members of an open node too: the “Invite” button on the node page opens their own invite window — mint a link, see the links they made, and how many members they have brought in.
- In a private node only the owner and moderators can. A banned member cannot.
- Points: moved from the owner’s own balance to the member; refused if the balance is short. Rewards are never minted by the platform.
- Something else: a token, merchandise — given by the owner, with a note kept here for the record.
member_invited; the points it awards come out of the balance of the owner who installed it.
Restricted users
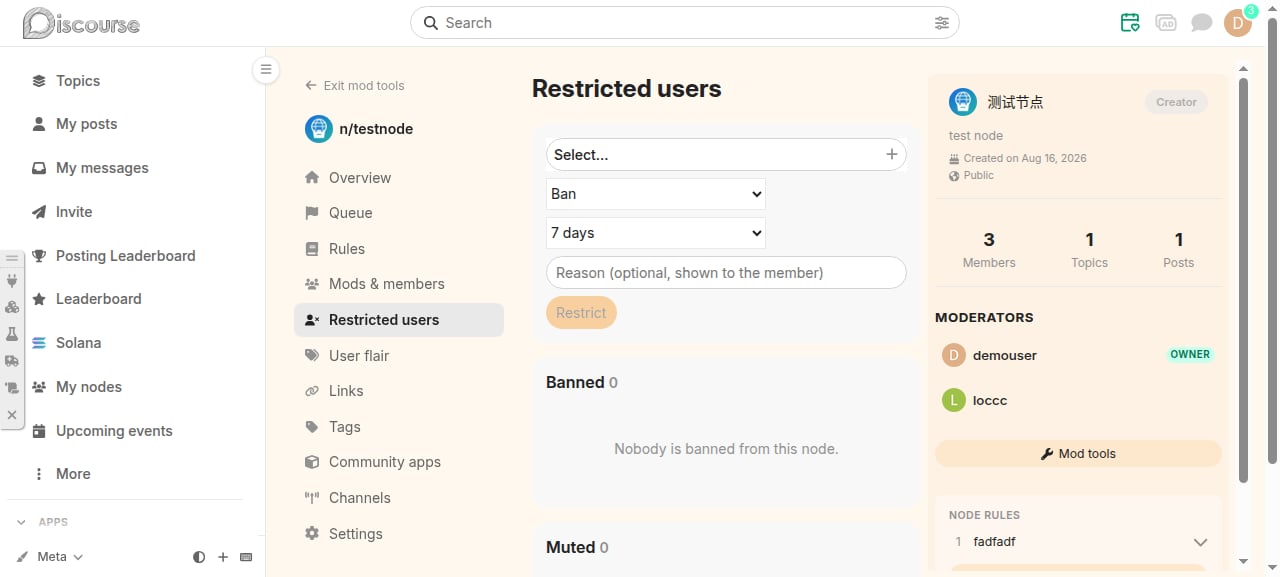
Members who misbehave can be restricted per node, without affecting them anywhere else on the site:
Terms run 1 / 3 / 7 / 28 / 365 days or permanent, with an optional reason (sent to the member by message). While restricted, the “New topic” and “Reply” buttons stay visible and pressing one shows the term and the reason; the server refuses anything that gets past the button.
User flair
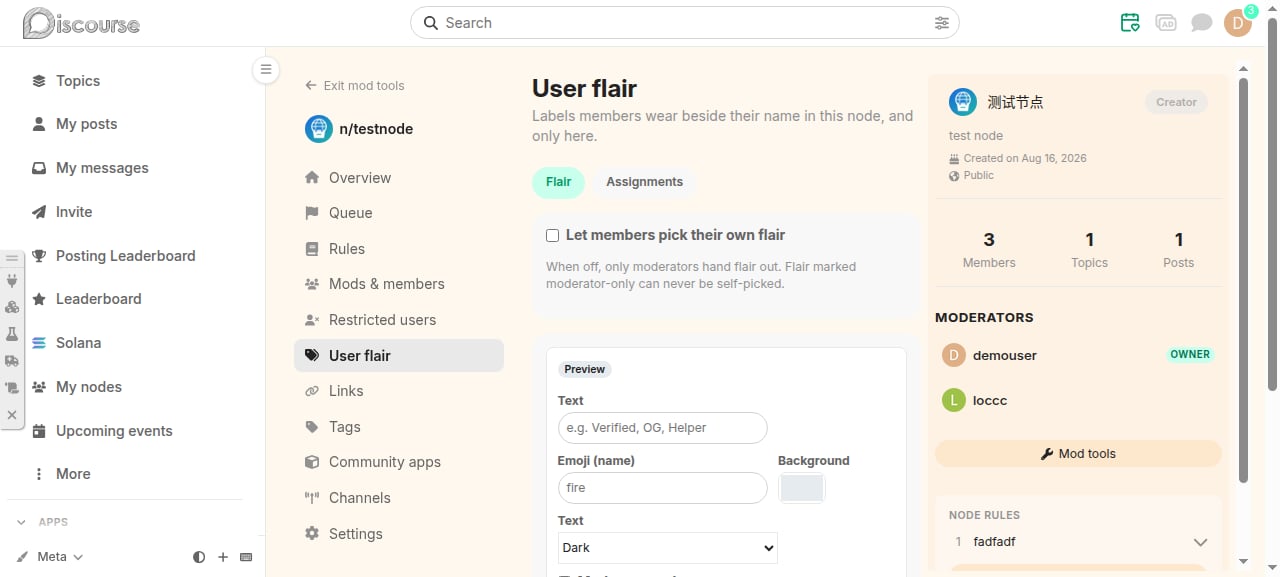
Flair is a small label (text + emoji + colour) worn beside a member’s name, only inside this node. A member can wear several at once.- Moderators define flairs and assign them; flairs marked “mod-only” cannot be picked by members.
- When “let members pick their own flair” is on, members choose for themselves.
Links and tags
- Links: up to 3, shown as a small banner beside the node’s topics — good for docs, chat groups or resource pages.
- Tags: node owners can keep tag groups of their own (tags that do not exist yet are created, no trust level required; they are usable across the whole site, not only in the node), set how many tags a new topic must carry at minimum (0 makes tags optional), and require new topics to carry tags from a chosen group. Restricting a tag to a single node is a site setting and stays with the admins.
Channels
Connect the node to what you publish elsewhere: a new YouTube video, a Telegram post, a blog entry or a Bilibili upload becomes a topic in the node on its own. A node can connect up to 10 channels; only the node owner manages them.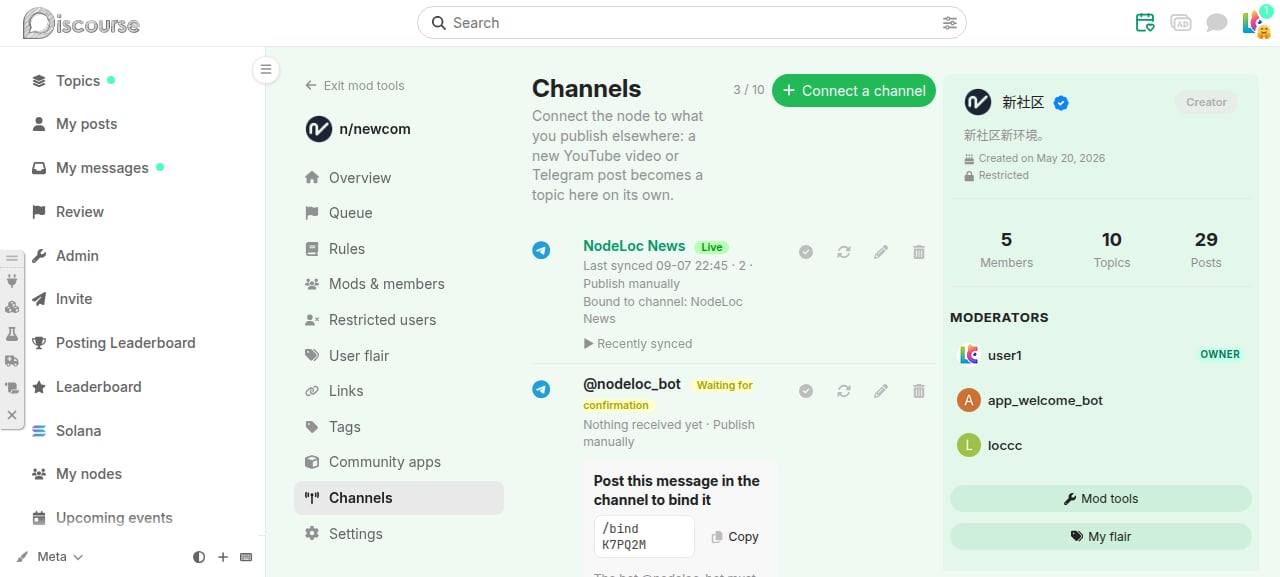
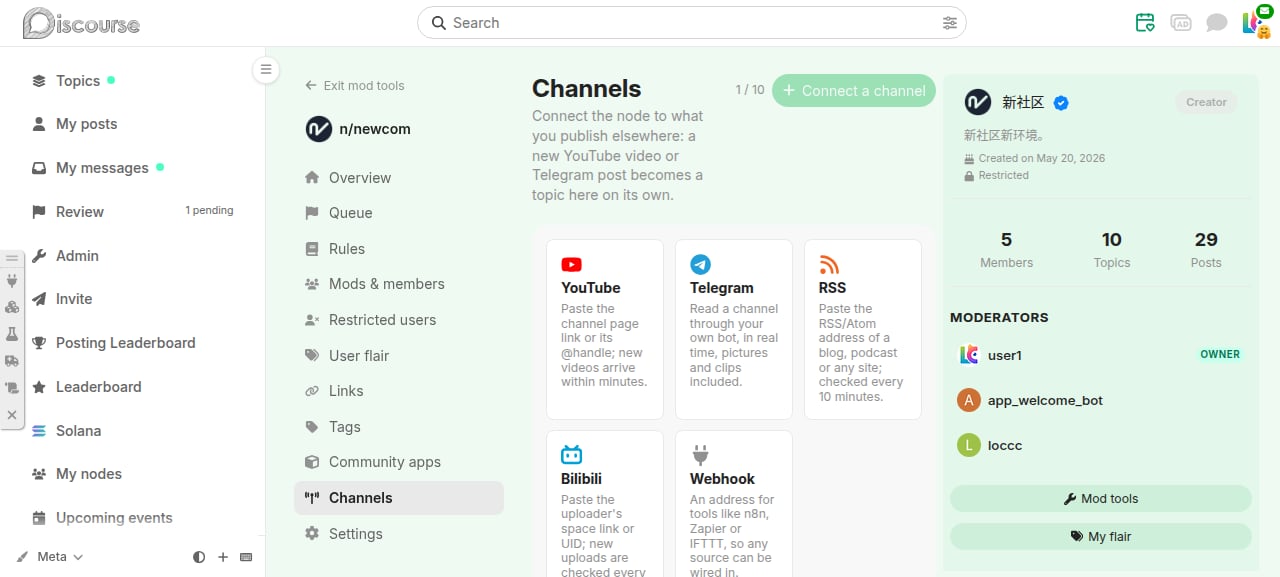
YouTube is push-first: while YouTube has not yet confirmed the subscription the state reads “Polling” and the channel feed is read every 10 minutes instead, switching back to push once confirmed. RSS and Bilibili channels also have a “Check now” button for when you would rather not wait.
1
Telegram: create a bot
Ask @BotFather for a new bot and copy its token.
2
Make it a channel administrator
Add the bot as an administrator of your channel; otherwise it never sees the posts.
3
Connect and bind
Pick Telegram on the Channels page, paste the token and connect. The page shows a
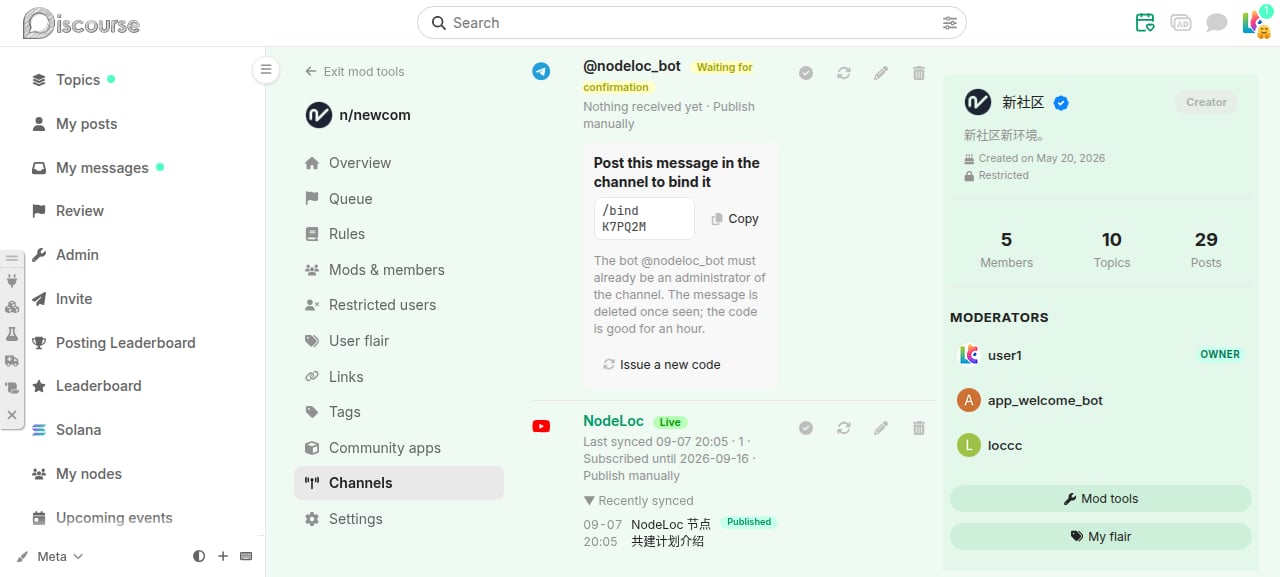
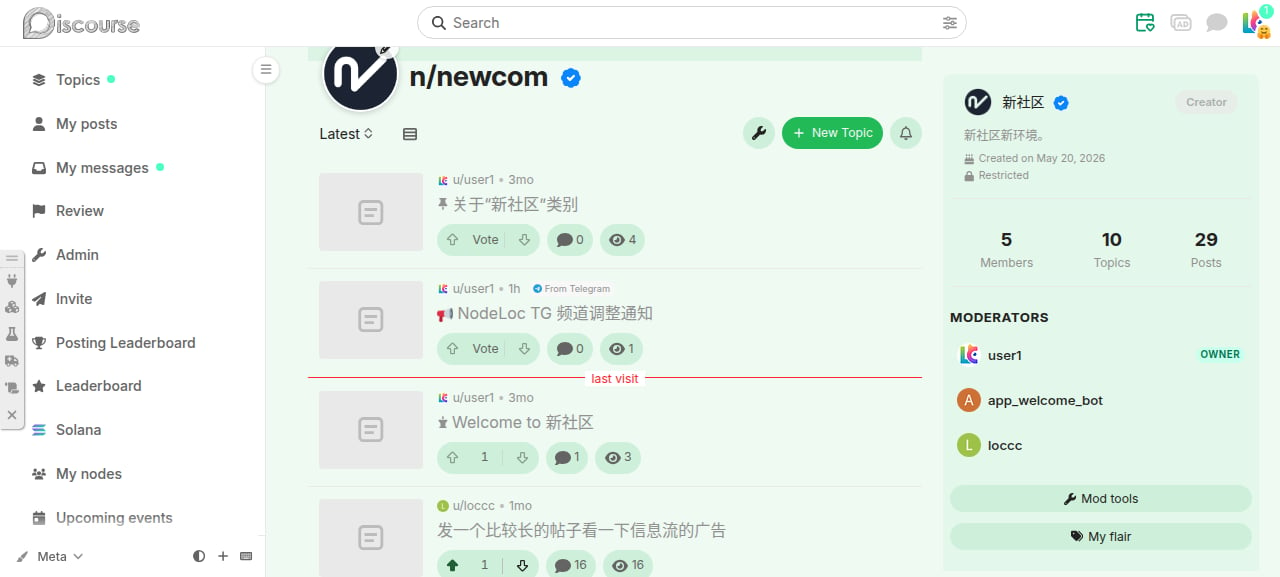
/bind CODE command; post it in the channel once to bind it. The message is deleted automatically and the code is good for an hour. The page switches to “Live” as soon as the bind lands.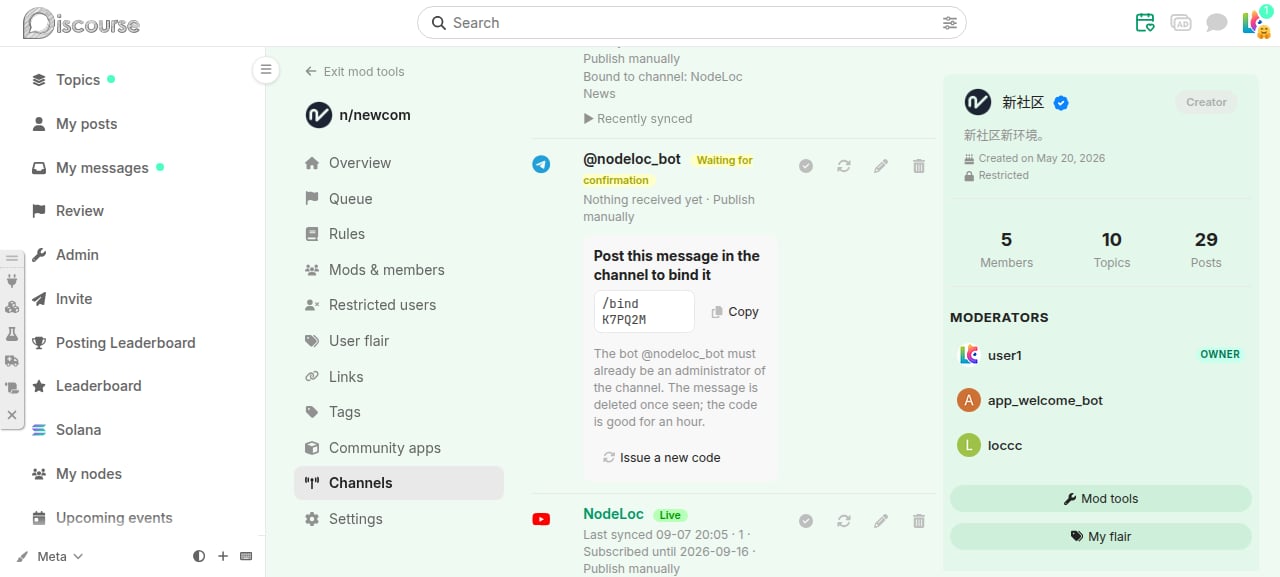
- Post as: the node owner, or the site’s channel bot account.
- Publish manually: when checked, synced items wait in the node’s review queue until you approve them; by default they publish directly.
- Posts per day, at most: 20 by default; anything beyond is skipped and recorded.
- Title prefix and tags to add.
Opening the webhook address in a browser confirms it is valid and explains how to use it; to push, POST JSON to it:
{ "title": "...", "body": "...", "url": "original link", "external_id": "optional, for de-duplication" }. The address carries the secret, so keep it private.Synced topics do not earn the node owner any posting reward points.
Node appearance
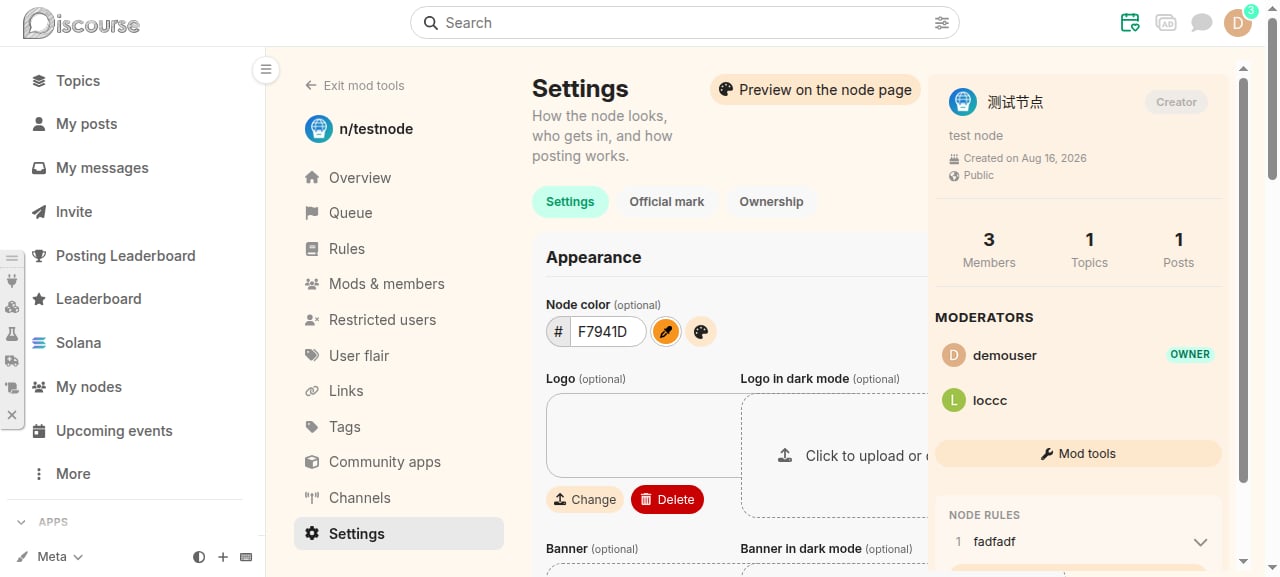
On the node page, the pencil buttons on the banner and icon, or the palette button, open the appearance panel: change the node icon, upload light / dark banners, tune the key colour. Changes preview live and only take effect when saved. The key colour washes the whole node page — background, buttons and accents; it can also be switched off in settings, keeping the colour only on the node’s disc.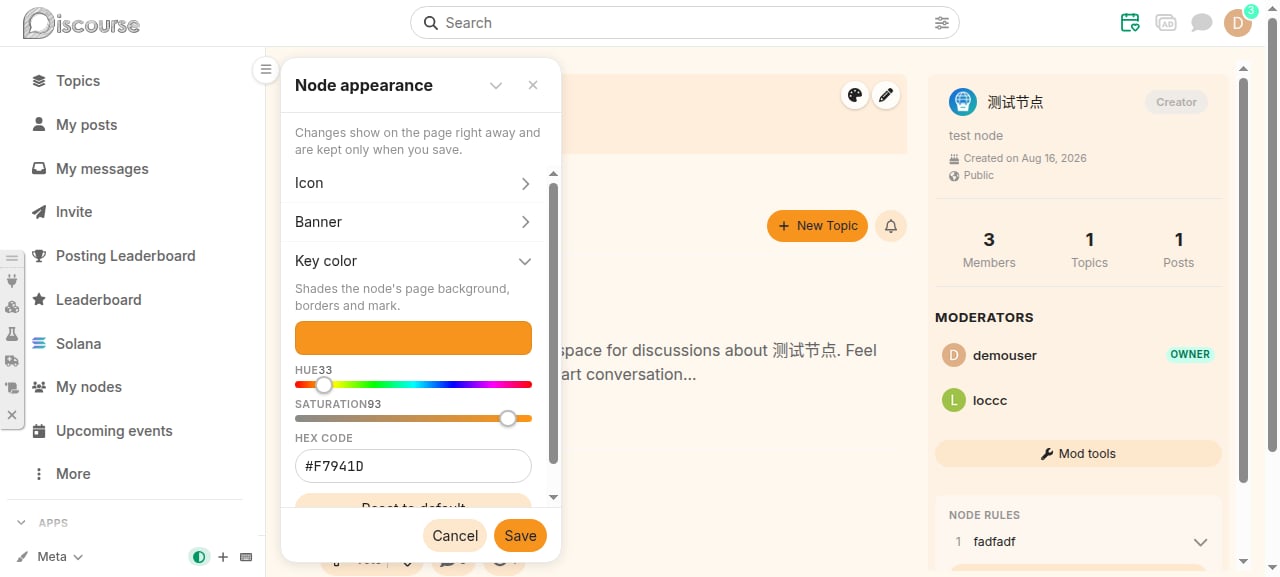
Settings
At the top of the settings page is a New topic alerts switch: the owner is notified of every new topic in the node by default and can turn it off here; a new owner after a transfer starts with it on too. Below that the page covers the node’s appearance, access and posting rules, plus two tabs:- Official mark: a verified merchant can apply for the official community mark on one of their nodes. Staff review the application, and the mark shows beside the node’s name. The mark follows the merchant term — it lapses when the term ends or the node changes hands, and restores itself when the same owner renews.
- Ownership: hand the node to another member.
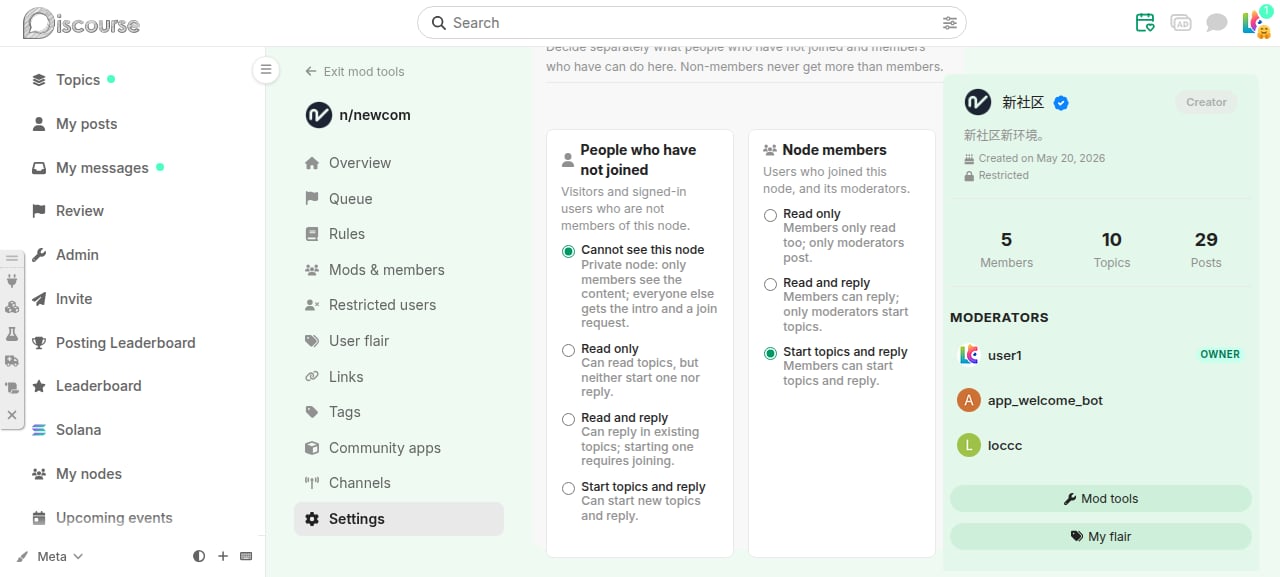
Access and posting
“Access and posting” has two columns that decide separately what people who have not joined and node members may do here. Underneath they map onto Discourse’s category permissions (the everyone group and the node’s member group):
Non-members never get more than members: widening the non-member side pulls members up, narrowing the member side pulls non-members down. Moderators always have full rights.
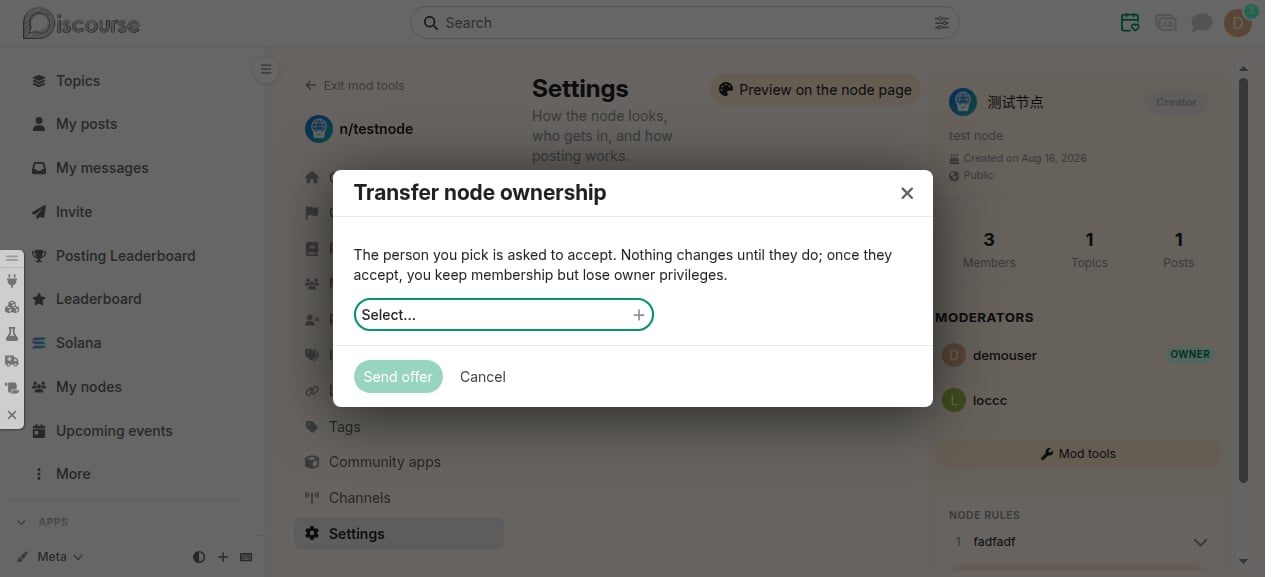
Transferring ownership
A transfer is a handshake — nothing changes the moment it is sent:1
Send the offer
Under “Settings → Ownership”, pick the member who should take over and send the offer.
2
They confirm
They accept or decline on the node’s transfer page (
/n/node-slug/transfer). Until they accept, nothing changes.3
Handover
Once they accept, roles move immediately: you keep your membership but lose owner privileges.
Pinning a reply
In nested view, a reply can be lifted above all the others. It is what you want when the answer, the conclusion, or an important correction is buried forty replies down and everyone arriving late has to dig for it. Who can pin:- A topic’s author, in their own topic
- A node’s creator and its moderators, in any topic in their node
- Staff
Only replies made directly to the topic can be pinned, not replies nested under another reply. There is a limit on how many replies one topic can have pinned.
Closing one branch
Sometimes the topic is fine and only one thread of it has gone bad. Closing the whole topic to deal with that is far too blunt — closing a branch stops replies to that one reply and everything nested under it, and leaves the rest of the topic running. Only a node’s creator and its moderators (and staff) can do this — not the topic’s author. Pinning is “read this one first”, which is the author’s to say; closing part of the conversation is moderation, and belongs to the people who answer for the node. Open the actions on the reply and choose “Close this branch to replies”; choosing it again reopens it.A close covers the whole branch — the forty replies already sitting under that one are closed too. That is deliberate: closing a single reply just moves the argument down one level.A topic’s opening post cannot be closed this way. Closing the whole topic is its own operation, and it leaves a visible notice and a record.