
OAuth Integration Guide
This document provides a complete third-party app integration guide to help you integrate the NodeLoc OAuth Provider into your application.📋 Table of contents
🚀 Quick start
1. Create an OAuth app
Visit the NodeLoc forum and create an OAuth app (requires Gold member TL2 or above):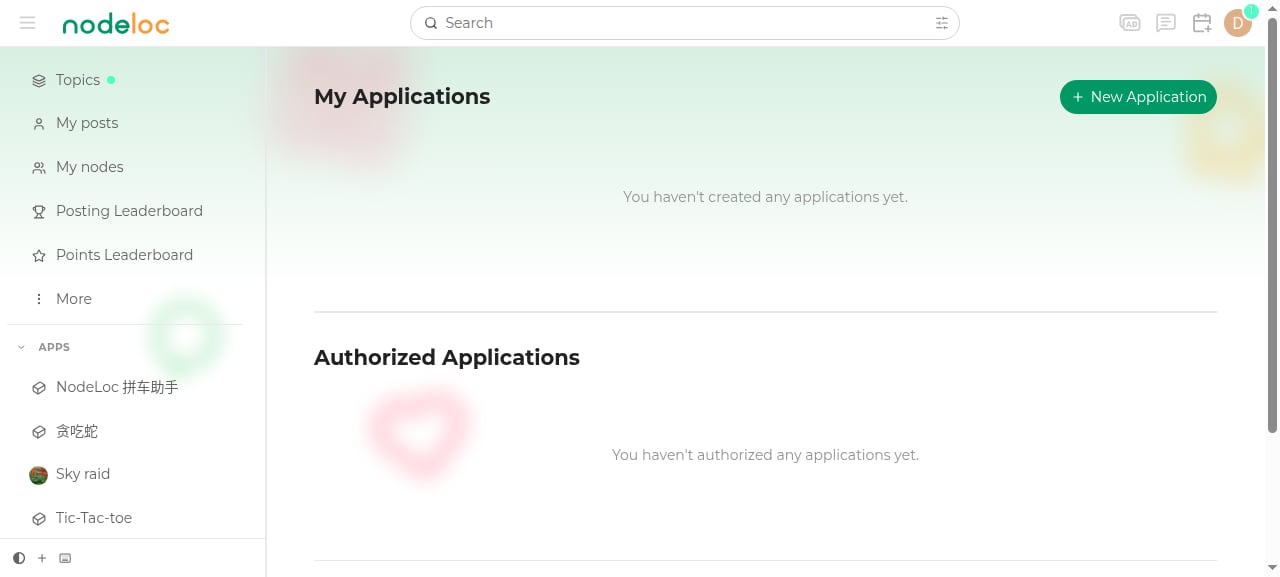
- Client ID: the unique identifier of your app
- Client Secret: the app secret (shown only once — store it safely)
- Redirect URI: the callback URL after authorization
If the app requests the
email scope, it must be reviewed by an admin before it can be used.2. Configure environment variables
3. Start integrating
Choose your development language and refer to the integration examples below to get started quickly.🔐 OAuth 2.0 authorization flow
Flow diagram
Detailed steps
Step 1: Redirect to the authorization page
Redirect the user to the following URL:
Available scopes:
Notes:
- If the app requests the
emailscope, it must be reviewed by an admin before it can be used - The review status can be viewed on the app management page
- Apps that have not passed review cannot complete the authorization flow
Step 2: Receive the authorization code
After the user authorizes, NodeLoc redirects back to yourredirect_uri with an authorization code:
Authorization successful:
Handling recommendations:
- Check for the presence of an
errorparameter to determine whether authorization succeeded - If the user denies authorization, prompt them in a friendly way and offer an option to authorize again
- Log denial events to analyze user behavior
state parameter matches the one sent in step 1.
Step 3: Exchange for an Access Token
Exchange the authorization code for an Access Token:Step 4: Get user info
Use the Access Token to get user info:🔌 API endpoints
Authorization endpoint
Token endpoint
authorization_code- authorization code flowrefresh_token- refresh token (if supported)
UserInfo endpoint
OIDC Discovery endpoint (optional)
💻 Integration examples
Node.js + Express
Install dependencies
Full example code
Environment variable configuration
Create a.env file:
Run the app
http://your-url.com to see the login page.
Python + Flask
Install dependencies
Full example code
Run the app
Ruby on Rails + Devise
Gemfile
config/initializers/devise.rb
app/models/user.rb
app/controllers/users/omniauth_callbacks_controller.rb
❓ FAQ
1. How do I handle token expiry?
Access Tokens are valid for 2 hours (7200 seconds) by default. After expiry, the user must authorize again, or use a Refresh Token (if supported).2. How do I handle errors?
All errors are returned in the standard OAuth 2.0 error format:3. What if the name field is empty?
When a user hasn’t set a display name, thename field automatically falls back to the username value. No extra handling is needed.
4. How do I test the OAuth integration?
Use the following test script for quick verification:5. Which scopes are supported?
The following scopes are currently supported:openid- standard OpenID Connect scope (required, cannot be removed)profile- user profile (avatar, bio, etc.)email- user email address (requires admin review)
- The
openidscope is required; it is automatically included when creating an app and cannot be removed - If your app requests the
emailscope, it must be reviewed and approved by an admin after creation before it works properly.
6. App review status explained
When your app requests a scope that requires review (such asemail), it will be in one of the following states:
How to check the review status:
- Visit
https://www.nodeloc.com/oauth-provider/applications - Check the “Review status” column in the app list
- Pending apps show a yellow warning icon
- Contact a NodeLoc admin to learn the reason for rejection
- If you don’t need the email scope, edit the app and remove it
- If the modified app no longer includes scopes that require review, it automatically becomes “Approved”
7. How do I protect the Client Secret?
Important security tips:- ✅ Server-side storage: store the Client Secret in server-side environment variables
- ✅ HTTPS communication: production environments must use HTTPS
- ✅ Rotate regularly: regenerate the Client Secret in NodeLoc periodically
- ❌ Don’t expose it: never commit the Secret to version control or front-end code
- ❌ Don’t log it: never log the full Secret
8. Production deployment checklist
Before deploying, confirm the following:- Use HTTPS
- Configure the correct Redirect URI
- Store environment variables securely
- Implement error handling and logging
- Add a State parameter to prevent CSRF
- Implement a token refresh mechanism
- Configure session timeouts
- Add a user logout feature
- Test the complete authorization flow